Well I’ve been playing with using up my stash and found some wonderful charm squares. Somewhere I saw a quilter making half square triangles from these. I wish I could remember where so I could give her credit. Here is how I remember it though.
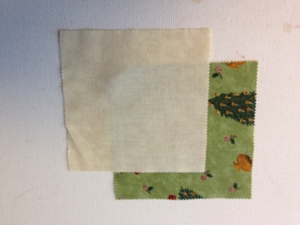
Take 2 charms and place them right sides together. Sew a scant 1/4 inch seam all around all four sides of the charms
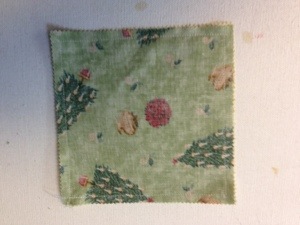

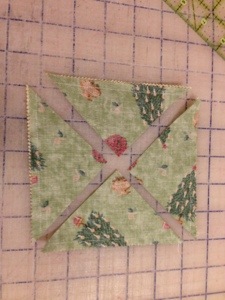

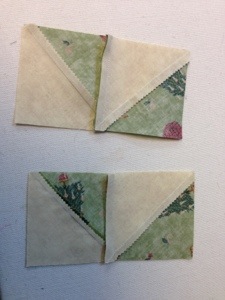
Carefully use your rotary cutter and ruler to cut these from corner to corner across the charms diagonally. Press each HST open, pressing the seams to the dark side. I advise using starch to stabilize the bias edges.

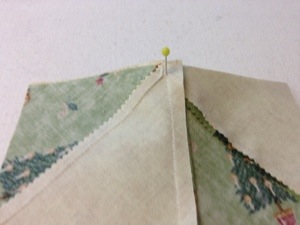
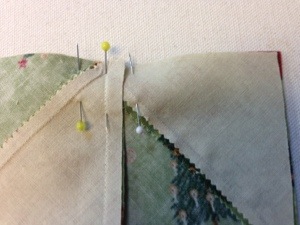

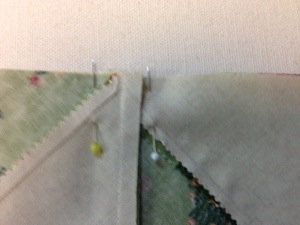
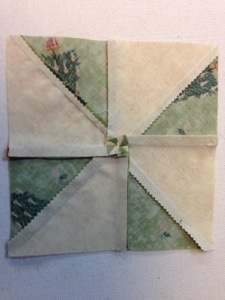
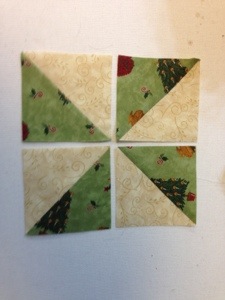
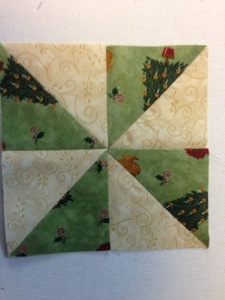
Once you have your pieces ironed, place them so that you can sew two HST together to form half of your pinwheel. Sew both halves. These will each nest easily. Now you will sew both halves together to form the final pinwheel. This is the tricky part. I pin them because of the thickness of the intersection. Note the pins in my pictures. I first pin one pin vertically thru the layers at where the center seams meet. You can peak between the layers to see that these seams match. THEN, I put a pin into the project on both sides of center, very close to the first pin. You can then remove the center pin and sew your seam. Only one center pin allows the fabric to “roll” and can offset your perfectly matched seam.

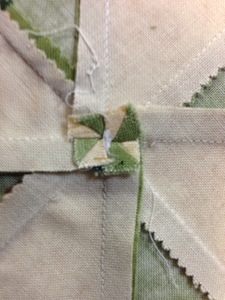
Once you have your perfectly matched seam you are ready to press your pinwheel. Make sure your seams are all pressed the same direction as they spin around your pinwheel. Then, by gently manipulating the center (you may have to loosen one or two stitches) you can make a beautiful tiny pinwheel in the center back of your block. Press this and you will have a perfect pinwheel!
Congratulations. Sew easy!
Bee Happy, Karen


 creams since my stash is overflowing there. We shall see…..