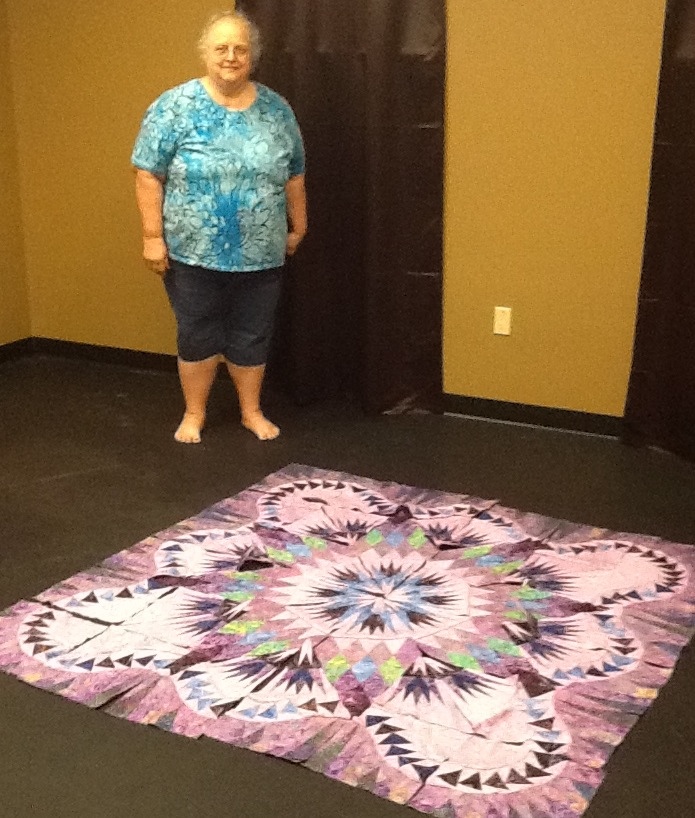
I have just finished blocking my quilt that will be headed to Wichita in a couple of weeks. Yes, I am actually ahead of schedule. This is a small quilt and was a little easier to block than my usual large quilts, but the technique is still the same. I use a sheet of insulation board covered with some flannel for my base for blocking. If I have a larger quilt I would lay two sheets of board side by side. Insulation board can be purchased at your nearby home improvement store for a very little bit of money. In my case, my quilt should finish at 27″ x 30″. I did go thru this process before adding my binding but found that it still needed tweeking after the binding and initial blocking. The first procedure was exactly the same as this one I am showing you.
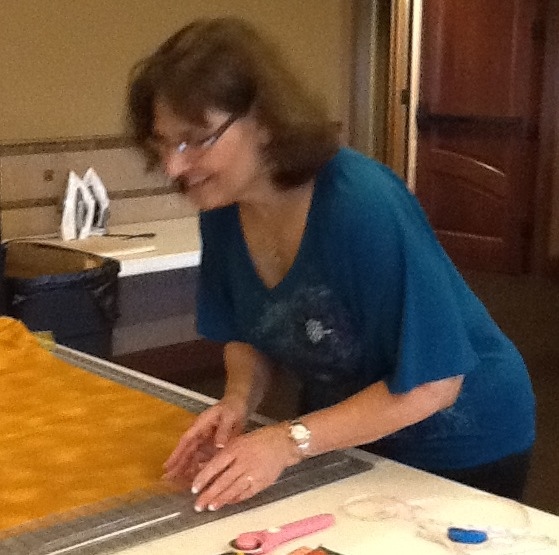
Here is a picture of my flannel covered board. I have used the large rulers to assure 90 degree corners and the correct size. I have marked my square with the friXion pens (by Pilot) that will disappear with heat (I use my hair dryer), hence the markings are not permanent. The extra line you see on the right was an initial error in marking the correct size. In future pics I am ignoring this line.

These are used to make sure all sides and corners are the right size.
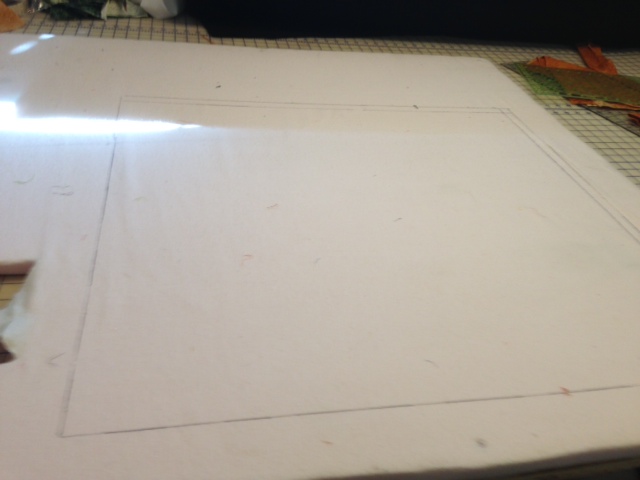
Board marked and ready to size quilt
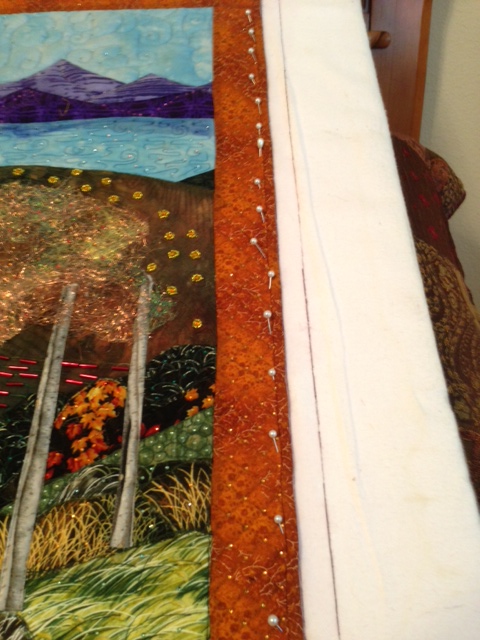
Now I will completely wet the quilt, removing excess water, and carefully stretch and pin the quilt to the board,starting with the corners and middle positions and filling in closely on all sides. I am making sure that the quilt sides follow precisely along my marks. At the same time I am making sure that all inner straight lines are parallel to their respective side.
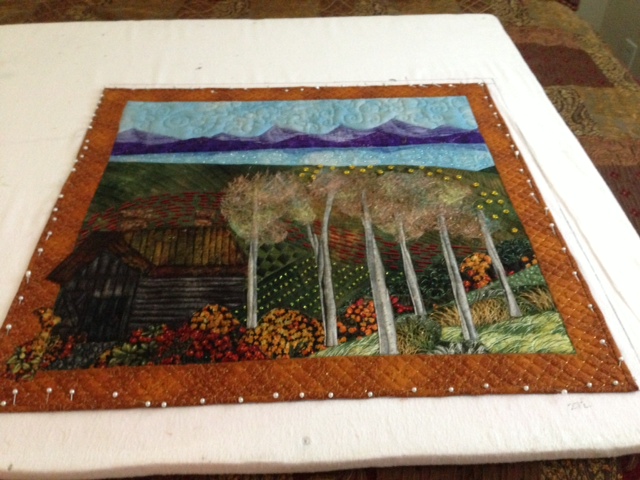

I will leave the quilt securely pinned to the insulation board until it is totally dry – very important. This quilt will travel well and hang squarely when it is displayed. This blocking process will leave the quilt with a newly made look. The technique can be used to restore the “new” look to any quilt you wash and should not be limited to show quilts.
Happy Blocking….BE HAPPY
Karen